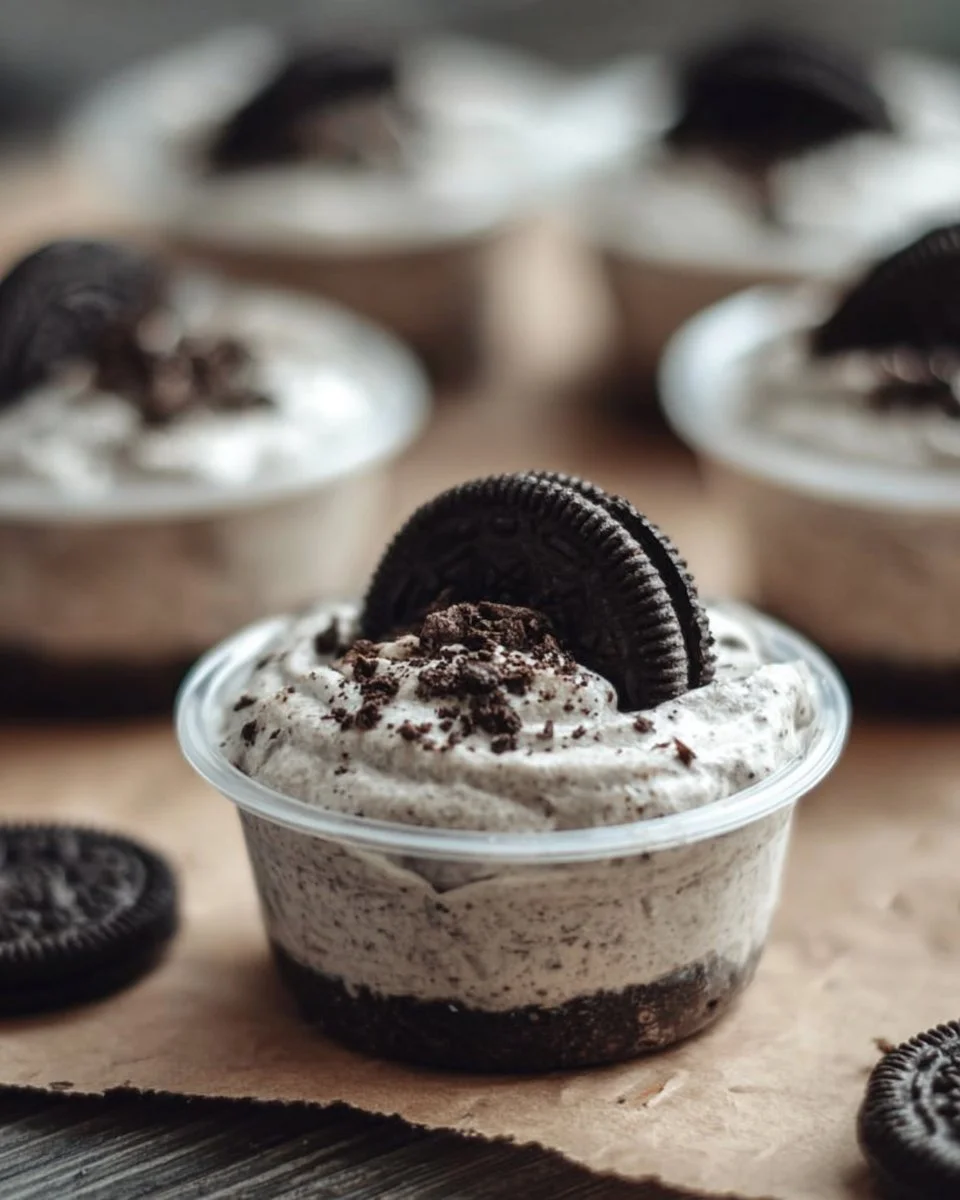
Cookies and Cream Dessert Cups are a delightful treat that everyone loves. They are easy to make and bring joy to any gathering. This dessert combines the rich flavor of chocolate cookies with the creaminess of a delicious filling. You will amaze your family and friends with these bite-sized treats. They are perfect for birthdays, parties, or just a cozy evening at home. If you want something that looks great and tastes even better, these dessert cups are just what you need.
Why Make This Recipe
There are many reasons to make Cookies and Cream Dessert Cups. First, they are simple and quick to prepare. You do not need fancy tools or skills; just a few mixing bowls and some measuring cups. Second, this dessert is no-bake, which means you do not have to worry about turning on the oven. This is excellent for hot days or when you want to avoid heat in the kitchen.
Another great reason is their versatility. You can serve these cups at different events, from birthday parties to holiday gatherings. Each dessert cup is portioned, making them easy to serve to a crowd. Plus, they have a beautiful presentation that will impress your guests. Finally, you can enjoy these dessert cups for days because they can be stored in the refrigerator.
How to Make Cookies and Cream Dessert Cups
Making Cookies and Cream Dessert Cups is an enjoyable and rewarding process. With just a few simple steps, you will create a delicious dessert that everyone will love.
Ingredients
- 2 cups crushed chocolate sandwich cookies
- ¼ cup butter (melted)
- 8 oz cream cheese (room temperature)
- ¾ cup granulated sugar
- 2 tsp vanilla extract
- 1 ½ cups heavy cream
- ½ cup crushed chocolate sandwich cookies
- 28 mini chocolate sandwich cookies
Directions
Prepare the Cookie Crust
In a small bowl, combine 2 cups of crushed chocolate sandwich cookies with the melted butter. Mix well until the crumbs are fully coated with butter. The mixture should resemble wet sand.Fill the Cups
Take 28 2-ounce plastic cups for serving. Use a small cookie scoop or spoon to portion the cookie crumb mixture into each cup. Press the crumbs down firmly into the bottom of each cup using another cup. This will form a solid base for the dessert.Make the Cream Cheese Mixture
In a separate mixing bowl, add the room temperature cream cheese and granulated sugar. Use an electric hand mixer on medium speed to cream these ingredients together. Mix until everything is smooth and well combined.Add the Heavy Cream and Vanilla
Pour in the heavy whipping cream and vanilla extract into the cream cheese mixture. Change the mixer speed to medium-high. Beat the mixture until it becomes light and fluffy. This should take a few minutes, and you will see soft peaks form.Fold in the Cookie Crumbs
Gently fold in the ½ cup of crushed chocolate sandwich cookies into the fluffy cream mixture. Be careful not to over-mix; you want to keep that light texture.Pipe the Mixture into the Cups
Take a piping bag and fill it with the cookies and cream mixture. Pipe the mixture into each cup until they are about ¾ full. This step adds a nice touch and makes the dessert look professional.Add Toppings
Top each dessert cup with a mini chocolate sandwich cookie or a sprinkle of additional cookie crumbs. This adds a bit of crunch and looks appealing on top.Chill the Dessert Cups
Seal the cups with a lid or plastic wrap and chill them in the refrigerator. These cups can be served immediately or can be stored for 2-3 days in the fridge. The chilling process will help the flavors meld together beautifully.
How to Serve Cookies and Cream Dessert Cups
When it comes time to serve your Cookies and Cream Dessert Cups, simply bring them out of the refrigerator. If you want to add a special touch, you can garnish each cup with a drizzle of chocolate syrup or a sprinkle of whipped cream. They are perfect for individual servings, making it easy for guests to grab their own cup.
These dessert cups can be served directly from the plastic cups, which makes clean-up a breeze. Just provide spoons for guests to enjoy their treats. They are great for sharing or savoring one on your own while watching your favorite show.
How to Store Cookies and Cream Dessert Cups
To store your Cookies and Cream Dessert Cups, make sure they are sealed tightly. If you used cups with lids, just store them in the refrigerator as is. If not, cover them with plastic wrap or transfer to an airtight container. These dessert cups can last in the refrigerator for about 2-3 days.
It’s best not to freeze them, as freezing can change the texture of the cream. Always check for freshness before serving again; if there are any changes in smell or texture, it’s best to discard them.
Tips to Make Cookies and Cream Dessert Cups
Use Quality Ingredients: The flavor of your dessert will depend on the quality of your ingredients. Choose a good brand of chocolate sandwich cookies and heavy cream for the best taste.
Room Temperature Cream Cheese: Make sure your cream cheese is at room temperature to blend smoothly. If it’s cold, it can clump up in the mixture.
Mixing Technique: When folding in the cookie crumbs into the cream mixture, use a gentle hand. This helps retain the light and fluffy texture of the whipped cream.
Creative Toppings: Feel free to get creative with your toppings. You could add crushed chocolate chips, sprinkles, or even a scoop of ice cream on top for an extra special treat.
Adjust Sweetness: If you prefer a less sweet dessert, you can reduce the amount of sugar in the cream cheese mixture to suit your taste.
Variations
You can easily modify the basic recipe of Cookies and Cream Dessert Cups to suit different tastes. Here are a few ideas:
Peanut Butter Twist: Mix in ½ cup of creamy peanut butter with the cream cheese mixture for a delicious peanut butter flavor.
Fruit Addition: Add some fresh berries or banana slices into the cream mixture before piping. This adds a refreshing contrast to the rich chocolate flavor.
Minty Fresh: Add a few drops of peppermint extract to the cream cheese mix for a minty version that tastes like mint chocolate cookies.
FAQs
Can I use homemade cookies instead of store-bought?
Yes, you can crush homemade chocolate cookies to use in this recipe. Just make sure they are firm enough to create a stable base.
How long can I keep the dessert cups in the fridge?
You can keep the Cookies and Cream Dessert Cups in the refrigerator for 2-3 days. Just make sure they are sealed well to maintain freshness.
Can I freeze these dessert cups?
It is not recommended to freeze Cookies and Cream Dessert Cups. The cream mixture may become grainy and lose its texture when thawed.
What can I use instead of cream cheese?
If you are looking for a dairy-free option, you can use a dairy-free cream cheese substitute. You may also try whipped coconut cream for a lighter option.
How can I make these dessert cups more festive?
To make these cups feel more festive, consider adding colored sprinkles to the topping or using seasonal-themed chocolate sandwich cookies, like those with holiday designs.
These simple yet delightful Cookies and Cream Dessert Cups will surely wow anyone who tries them. Enjoy making and sharing this dessert with your loved ones!
Print
Cookies and Cream Dessert Cups
- Total Time: 45 minutes
- Yield: 28 servings 1x
- Diet: Vegetarian
Description
Delightful no-bake dessert cups made with crushed chocolate cookies and a creamy filling, perfect for any gathering.
Ingredients
- 2 cups crushed chocolate sandwich cookies
- ¼ cup butter (melted)
- 8 oz cream cheese (room temperature)
- ¾ cup granulated sugar
- 2 tsp vanilla extract
- 1 ½ cups heavy cream
- ½ cup crushed chocolate sandwich cookies
- 28 mini chocolate sandwich cookies
Instructions
- In a small bowl, combine crushed chocolate sandwich cookies with melted butter.
- Portion the cookie crumb mixture into 28 small cups and press firmly to create a base.
- In a mixing bowl, cream together cream cheese and granulated sugar until smooth.
- Add heavy cream and vanilla extract, beat until light and fluffy.
- Fold in crushed chocolate sandwich cookies.
- Pipe the mixture into each cup until about ¾ full.
- Top with a mini chocolate sandwich cookie or additional cookie crumbs.
- Chill the cups in the refrigerator for at least 30 minutes before serving.
Notes
These cups can be made ahead of time and stored in the refrigerator for up to 2-3 days.
- Prep Time: 15 minutes
- Cook Time: 0 minutes
- Category: Dessert
- Method: No-Bake
- Cuisine: American
Nutrition
- Serving Size: 1 cup
- Calories: 200
- Sugar: 12g
- Sodium: 150mg
- Fat: 12g
- Saturated Fat: 7g
- Unsaturated Fat: 5g
- Trans Fat: 0g
- Carbohydrates: 24g
- Fiber: 1g
- Protein: 3g
- Cholesterol: 25mg
Keywords: cookies and cream, dessert, no-bake, parties, gatherings, chocolate