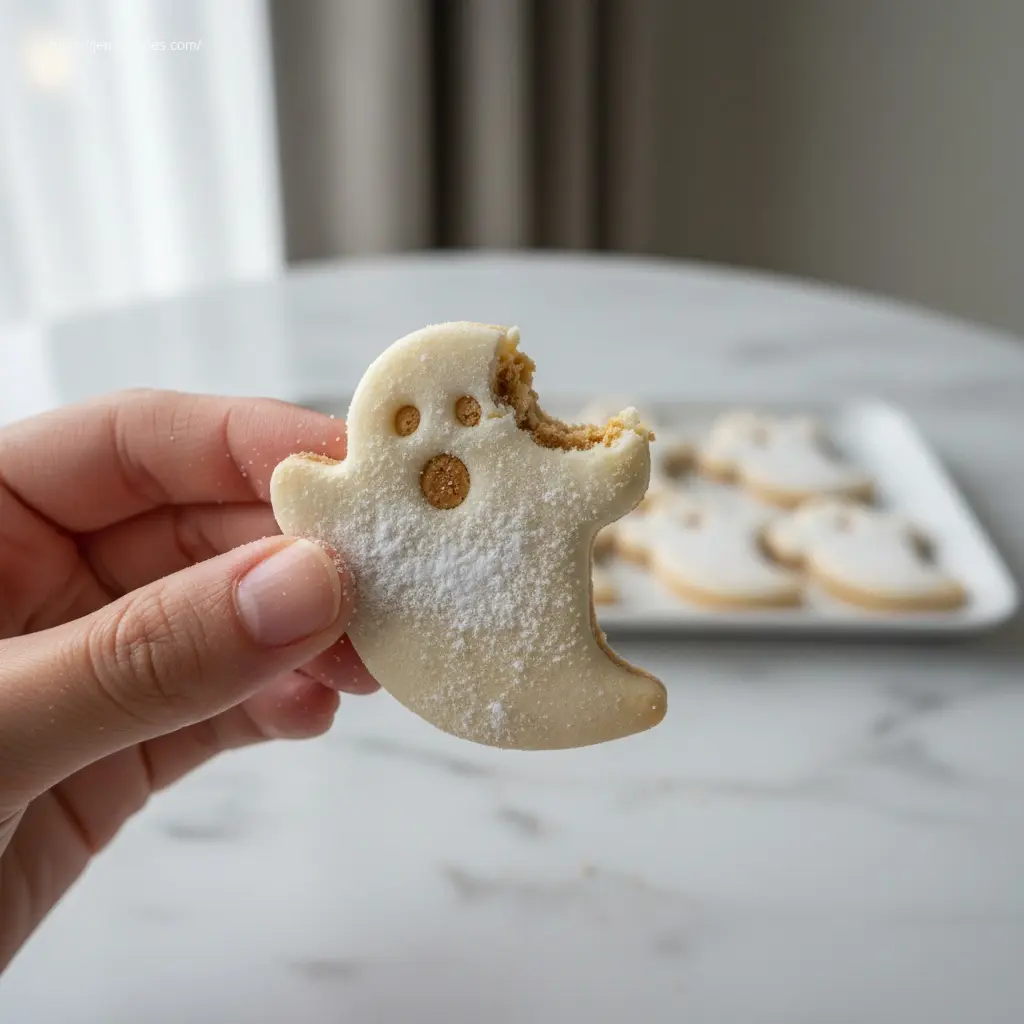
There’s something magical about those crisp autumn days, isn’t there? The air hums with anticipation for Halloween, and suddenly, you’re craving treats that are both delicious and delightfully spooky. We all have those nostalgic childhood favorites, and today, we’re taking a beloved peanut butter cookie and giving it a spectral, yet utterly adorable, makeover. Get ready to embark on a fun-filled baking adventure that will bring smiles and deliciousness to your Halloween celebrations!
Table of Contents
Why You’ll Love These Nutter Butter Ghost Cookies
- Effortlessly Adorable: These cookies are incredibly simple to decorate, even for beginner bakers, but they look impressively festive.
- Irresistibly Delicious: The classic creamy peanut butter flavor of Nutter Butters is perfectly complemented by the sweet white chocolate “ghost” coating.
- Perfect for All Ages: A fantastic baking project for families, these cookies are fun to make with kids and even more fun to eat!
- Party Perfect: They make a wonderful addition to any Halloween party spread, trick-or-treat bag, or school bake sale.
- Quick & Easy: No complicated baking from scratch required; these come together in a flash.
Nutter Butter Ghost Cookies: 6 Simple Steps to Make Them
Description
Adorable no-bake Nutter Butter cookies dipped in white chocolate to look like ghosts; an easy, family-friendly Halloween treat.
Ingredients
Nutter Butter cookies (oval)
White melting wafers or white chocolate chips
Mini chocolate chips (for eyes)
Black edible food marker or black icing gel (for mouths)
Optional: coconut oil (to thin chocolate if needed)
Instructions
1. Line a baking sheet with parchment paper or wax paper.
2. Melt white chocolate wafers or chips in short intervals, stirring until smooth; thin with a little coconut oil if needed.
3. Dip each Nutter Butter to fully coat, tapping off excess chocolate.
4. Drag the bottom edge on the bowl rim to create a slightly elongated ghost tail.
5. Place coated cookies on the prepared sheet.
6. Add two mini chocolate chips near the top for eyes before the coating sets.
7. Refrigerate 10–15 minutes until the coating is firm.
8. Draw mouths with a black edible marker or black icing gel.
9. Serve and enjoy.
Notes
Use good quality white melting wafers for the smoothest finish.
Do not overheat white chocolate; melt in short bursts and stir well.
Work in smaller batches so the chocolate stays fluid.
Have fun varying the ghost faces for different expressions.
- Category: Dessert
- Method: No-bake
Keywords: Nutter Butter, ghost cookies, Halloween, white chocolate, peanut butter, no-bake
Hauntingly Delicious: How to Make Your Nutter Butter Ghost Cookies
Ingredients You’ll Need
- Nutter Butter cookies (the classic oval shape works best)
- White melting wafers or white chocolate chips
- Mini chocolate chips (for eyes)
- Black edible food marker or black icing gel (for mouths)
- Optional: Coconut oil (if needed for thinning chocolate)
Step-by-Step Instructions
- Prepare Your Workspace: Line a baking sheet with parchment paper or wax paper. This will prevent your ghosts from sticking.
- Melt the White Chocolate: In a microwave-safe bowl, melt the white chocolate wafers or chips according to package directions, stirring frequently until smooth. If the chocolate is too thick, add a tiny bit of coconut oil and stir until it reaches a dip-able consistency.
- Dip Your Ghosts: Carefully, one by one, dip each Nutter Butter cookie into the melted white chocolate, ensuring it’s fully coated. You can use a fork to help submerge and then gently tap off any excess chocolate.
- Create the Ghost Shape: As you lift the cookie, let the excess chocolate drip off, then gently drag the bottom of the cookie on the edge of the bowl to create a slightly elongated “tail” or flowing ghost shape.
- Place on Prepared Sheet: Carefully transfer each dipped Nutter Butter ghost cookie to your prepared baking sheet.
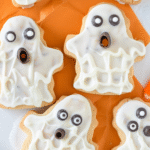
- Add Eyes: Before the white chocolate sets, place two mini chocolate chips near the top of each cookie to form the eyes.
- Chill to Set: Once all cookies are dipped and eyed, place the baking sheet in the refrigerator for 10-15 minutes, or until the white chocolate is completely firm.
- Draw the Mouths: Once the chocolate is set, use your black edible food marker or black icing gel to draw spooky (or silly!) ghost mouths on each cookie.
- Serve and Enjoy!
Notes for Success
- Quality White Chocolate Matters: Use good quality white melting wafers for the smoothest finish. Regular white chocolate chips can sometimes be trickier to work with.
- Don’t Overheat Chocolate: Overheated white chocolate can seize and become lumpy. Melt in short intervals, stirring well between each.
- Work in Batches: If making a large quantity, melt chocolate in smaller batches to keep it from cooling too much.
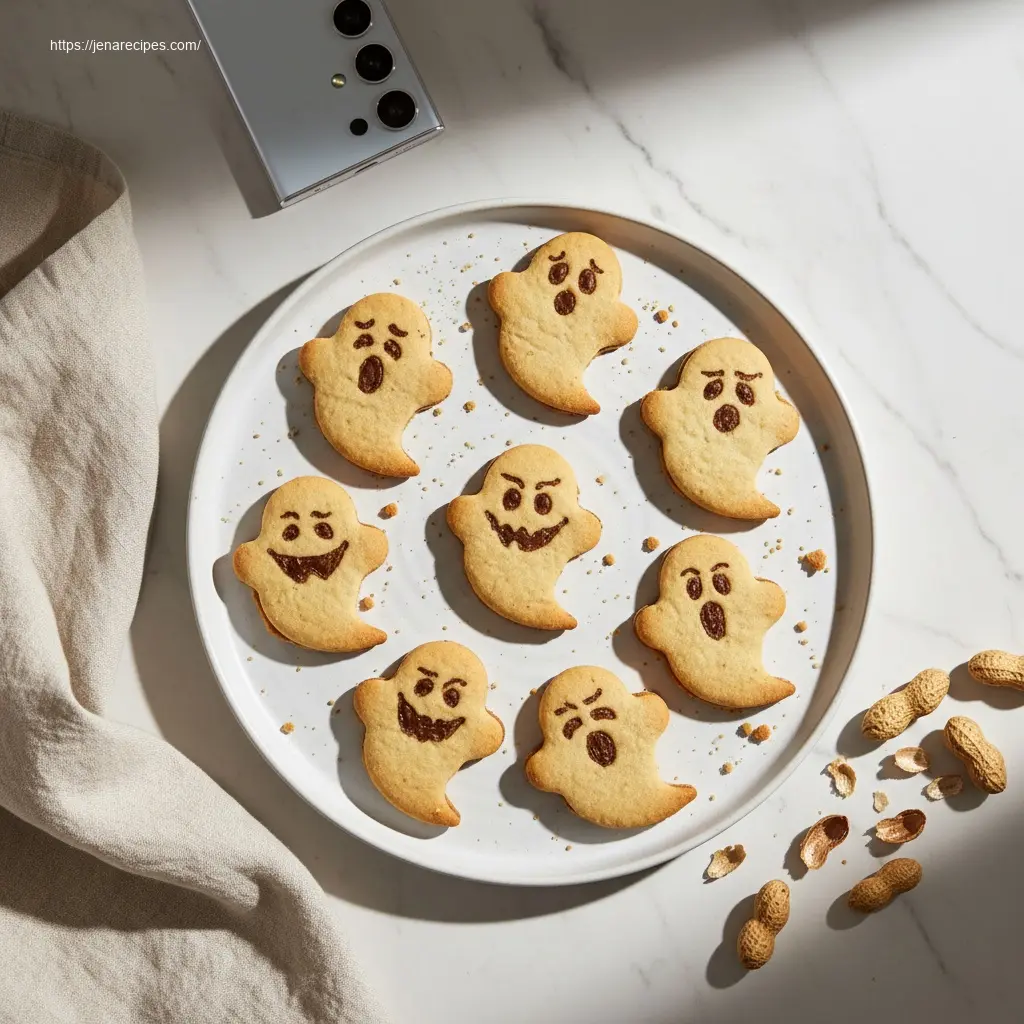
- Get Creative with Faces: Have fun with the ghost faces! Make some happy, some sad, some scary – the possibilities are endless.
Spooktacular Nutter Butter Ghost Cookie Serving Suggestions & Creative Variations

Serving Ideas
- Halloween Party Platter: Arrange your Nutter Butter Ghost Cookies on a festive platter alongside other spooky treats like “Mummy Dogs” or “Witch Finger Pretzel Rods.”
- Edible Centerpiece: Stack them on a tiered cake stand for an impressive, edible Halloween decoration.
- Trick-or-Treat Goodies: Individually wrap them in clear treat bags with a festive ribbon to hand out to trick-or-treaters.
- Lunchbox Surprise: Tuck one into a child’s lunchbox for a fun, seasonal treat.
- Coffee or Milk’s Best Friend: Perfect for dunking in a glass of cold milk or enjoying with your morning coffee.
Variations to Try
- Spooky Sprinkles: Lightly sprinkle with Halloween-themed sprinkles before the chocolate sets for extra sparkle.
- Chocolate Drizzle: After the white chocolate sets, drizzle with melted milk or dark chocolate for a contrasting look.
- Peanut Butter Swirl: Swirl a tiny bit of melted peanut butter into the white chocolate before dipping for an extra peanutty kick.
- Orange Ghosts: Use orange candy melts instead of white for a different color scheme.
- Vampire Ghosts: Use red edible gel for a tiny drop of “blood” at the mouth for a more gruesome ghoul!
Conclusion: Your New Go-To Halloween Treat!
There you have it! In just a few simple steps, you’ve transformed a beloved cookie into an adorable and delicious Halloween masterpiece. These Nutter Butter Ghost Cookies are truly a testament to how easy and fun holiday baking can be. Whether you’re hosting a ghoulish gathering, preparing for trick-or-treaters, or simply looking for a sweet way to celebrate the season, these ghosts are sure to be a hit. So grab your Nutter Butters, get melting, and prepare to bring some deliciously spooky joy to your home this Halloween! Happy baking!
FAQ About Nutter Butter Ghost Cookies
Q1: How long do Nutter Butter Ghost Cookies last, and how should I store them?
A1: These Nutter Butter Ghost Cookies can be stored in an airtight container at room temperature for up to 3-5 days. If it’s warm, or you prefer them chilled, you can keep them in the refrigerator, which will also help the chocolate stay firm.
Q2: Can I use different types of cookies instead of Nutter Butters for this recipe?
A2: While the classic oval shape of Nutter Butters is perfect for creating the ghost shape, you could experiment with other flat, rectangular cookies like graham crackers or even Milano cookies, though the flavor and aesthetics would change from the traditional Nutter Butter Ghost Cookies.
Q3: What’s the best way to melt the white chocolate for these Nutter Butter Ghost Cookies?
A3: The best way to melt white chocolate for your Nutter Butter Ghost Cookies is in the microwave in 30-second intervals, stirring thoroughly after each interval, until smooth. Alternatively, you can use a double boiler over simmering water for a more controlled melt.
Q4: My white chocolate is too thick for dipping. What should I do?
A4: If your white chocolate is too thick for dipping your Nutter Butter Ghost Cookies, you can thin it out by stirring in 1/2 to 1 teaspoon of coconut oil or vegetable shortening at a time until you reach the desired consistency. Be careful not to add too much, as it can make the chocolate greasy.
Q5: Can I freeze Nutter Butter Ghost Cookies?
A5: Yes, you can freeze Nutter Butter Ghost Cookies! Place them in a single layer on a baking sheet to freeze completely, then transfer them to an airtight freezer-safe container or bag. They can last for up to 2-3 weeks. Thaw at room temperature when ready to enjoy.